Control your computer using Python

Python is an excellent language for taking control of your computer and performing some of the more tedious tasks. I recently used it to automate how I create Python training videos and have just submitted my second Python training video to APress publishers. It is now a much nicer process with more consistent and professional results.
I like showing how to use Python, so the viewers can follow along. Matching up a screen recording of the Python demo with my spoken explanation and the slides was quite a tricky business.
To automate it I used the pyautogui Python library to control the mouse and keyboard. It clicks the ‘start recording’ button for me, slowly types in the Python code, then stops the recording.
Other libraries generate the slides and gather demos, voice recordings and slides into a single video.
This has transformed how I create the training videos. It has made it a lot more flexible, saves time and makes the videos more consistent. I can’t wait to record the next one.
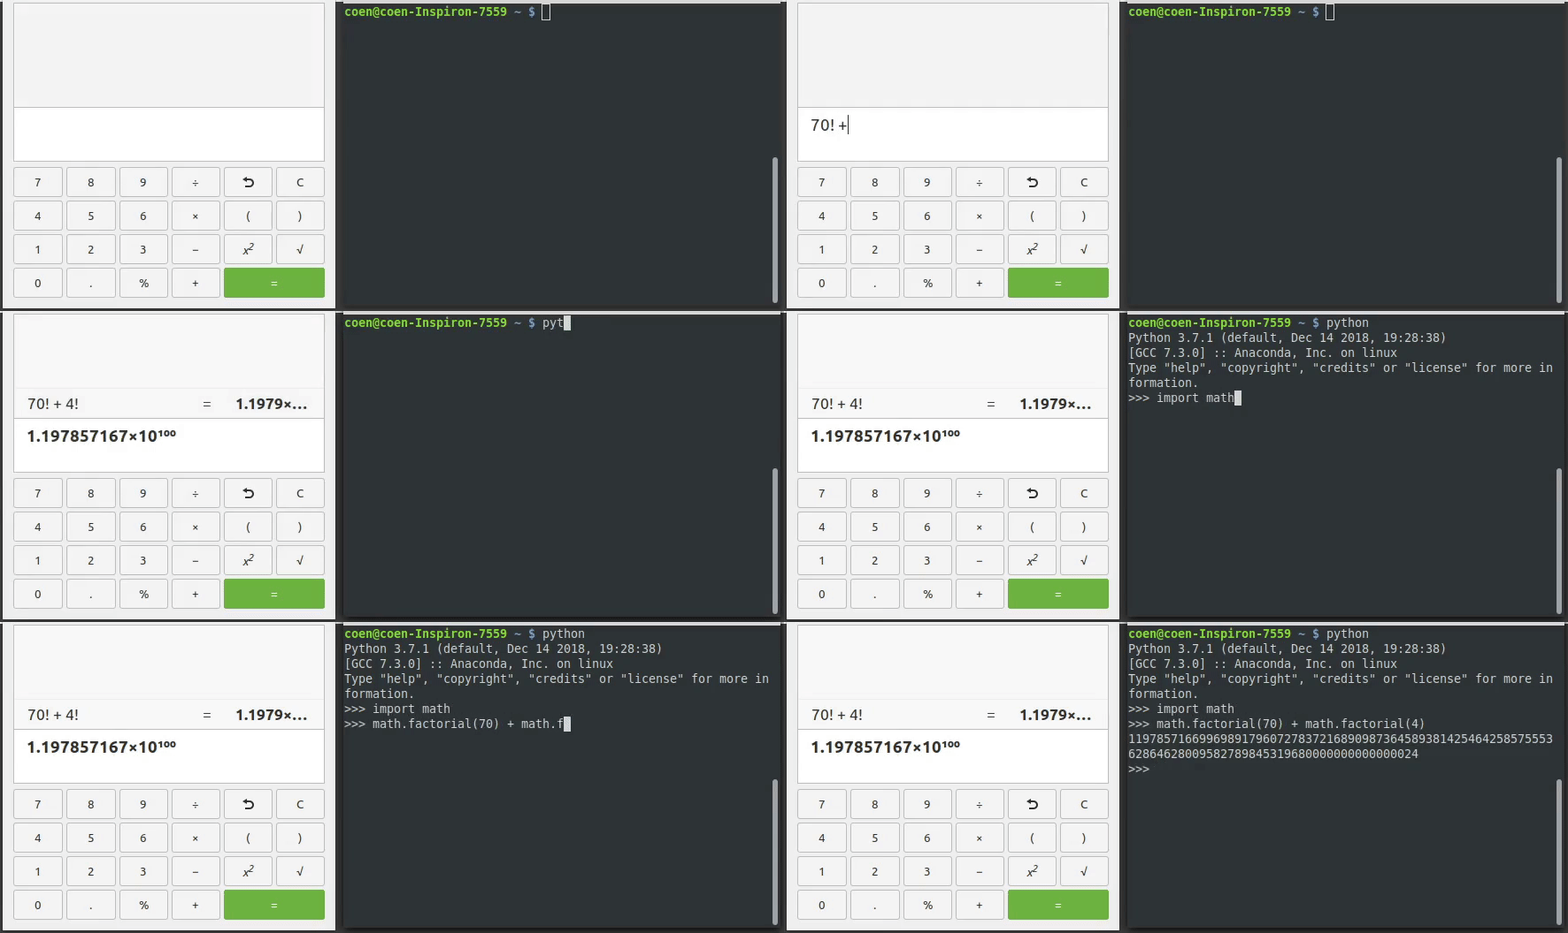
The animation above is a simple demonstration of pyautogui and Python. It shows the same calculation done on the built-in calculator and in Python.
To be clear: This is not me typing. Python controls the mouse and keyboard, clicks on the calculator then enters the sum, clicks on the terminal then types the Python code.
It calculates 70! + 4!
4! = 1 x 2 x 3 x 4
70! = 1 x 2 x 3 x 4 x ….. x 68 x 69 x 70
Yes, Python returns a 101 digit number. When processing whole numbers, Python can handle an almost unlimited number of digits
You could ask pyautogui to click on fixed locations. However you may accidentally leave some application open in the wrong place, and anything may happen. Pyautogui may type the text into an important document, send an email to a client, order some random food or worse.
Instead, give pyautogui a picture of what it should click on, such as a button. If it isn’t visible, your script will simply stop and no harm will be done.
Take a screen capture of the button or area it should click on. Keep it small, just large enough to be unique. For instance, I used the ‘C’ (clear) button on the calculator. It is unlikely that another application uses exactly the same size, shape and color of button, so it should be quite safe.
The image has to exactly match what is shown on the screen for pyautogui to be able to find it back. For instance, any small changes in color will throw off pyautogui. Save the image using a lossless format, such as .png or .bmp. With .jpg and other lossy formats some of the returned pixel values will be slightly different and pyautogui won’t be able to find it.
Before installing it installing pyautogui, to keep your Python version(s) clean, you may want to set up a virtual environment first.
To install pyautogui: pip install pyautogui
Here is the annotated code. You can find the raw code at the GitHub repository.
- import pyautogui
Load the pyautogui library. See above for instructions on how to install it - x, y = pyautogui.locateCenterOnScreen(‘images/calculator.png’)
- pyautogui.click(x, y)
Find the ‘C’ clear button on the calculator and click on it. This puts the focus on the calculator, so the text that we’ll type next is entered on the calculator - pyautogui.typewrite(’70! + 4!\n’, 0.5)
Type the equation in the calculator and hit enter. ‘\n’ stands for the enter key. The calculator will perform the calculation and show the result - x, y = pyautogui.locateCenterOnScreen(‘images/terminal.png’)
- pyautogui.click(x, y)
Find the ‘~ $’ sign on the screen, which shows the location of the terminal window, and click on it - pyautogui.typewrite(“python\n”, 0.2)
Enter the text ‘python’, followed by enter, to start Python - pyautogui.typewrite(“import math\n”, 0.2)
Enter the text ‘import math’, so our Python session can use the math library - pyautogui.typewrite(‘math.factorial(70) +
math.factorial(4)\n’, 0.1)
Enter the equation into Python and hit enter. Python will perform the calculation and show the result


